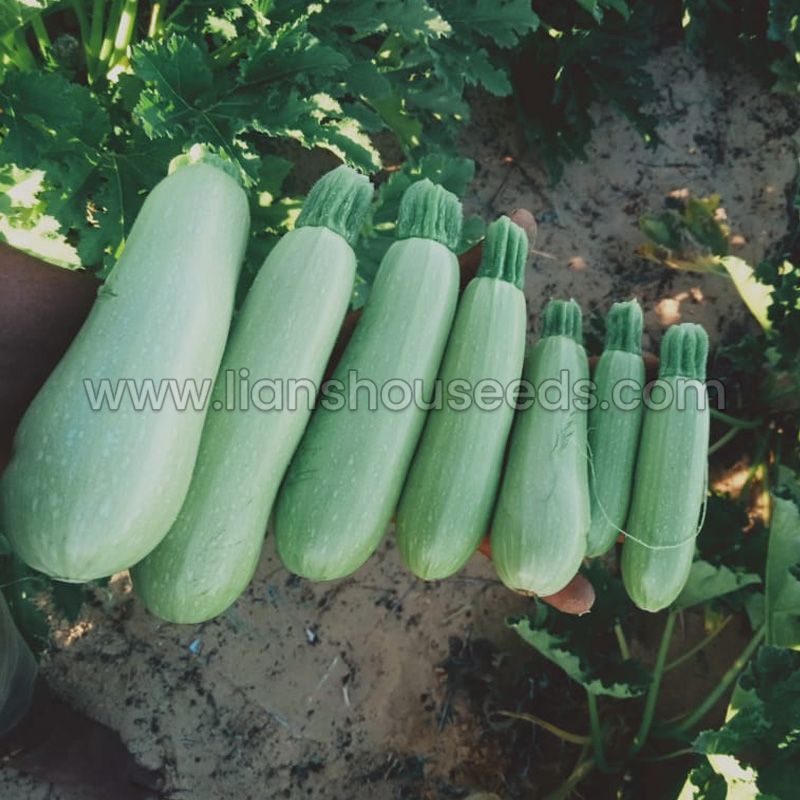
How do I plant Lebanese squash seeds?
Lebanese squash, also known as Lebanese zucchini or Lebanese white bush marrow, is a popular vegetable variety known for its tender flesh and delicate flavor. If you have acquired Lebanese squash seeds and are eager to grow them in your garden, it's essential to know the proper planting techniques to ensure successful germination and healthy plant growth. Here's a step-by-step guide on how to plant Lebanese squash seeds.
Step 1: Prepare the Soil
Choose a sunny location in your garden that receives at least six to eight hours of direct sunlight daily. Lebanese squash thrives in well-drained soil with a pH level between 6.0 and 7.5. Before planting, prepare the soil by removing any weeds or debris. Loosen the soil to a depth of around 12 to 15 inches, incorporating organic matter such as compost or well-rotted manure to improve fertility and drainage.
Step 2: Sowing the Seeds
Lebanese squash seeds can be directly sown in the garden or started indoors and later transplanted. If you choose to start indoors, sow the seeds in biodegradable pots or seedling trays filled with seed-starting mix about two to three weeks before the last expected frost date in your area. Plant the seeds approximately 1 inch deep, spacing them about 2 to 3 feet apart to allow ample room for the plants to grow.
Step 3: Transplanting Seedlings (if applicable)
If you started the Lebanese squash seeds indoors, transplant the seedlings outdoors once the danger of frost has passed, and the soil temperature has warmed to around 60°F (15°C). Harden off the seedlings by gradually exposing them to outdoor conditions over a period of several days. When transplanting, ensure that the soil level of the seedlings matches the level of the garden bed, and provide adequate spacing between each plant.
Step 4: Watering and Care
Water the newly sown or transplanted Lebanese squash seeds immediately after planting to settle the soil and ensure good seed-to-soil contact. Throughout the growing season, maintain consistent moisture levels by watering the plants regularly, especially during dry spells. Aim to keep the soil evenly moist but not waterlogged, as excessive moisture can lead to root rot. Avoid overhead watering to prevent the spread of fungal diseases.
Step 5: Fertilizing and Mulching
Once the Lebanese squash plants have established themselves, provide regular feedings of balanced organic fertilizer according to the package instructions. Additionally, applying a layer of organic mulch, such as straw or shredded leaves, around the base of the plants helps retain moisture, suppress weeds, and regulate soil temperature.
Step 6: Pest and Disease Management
Monitor the Lebanese squash plants regularly for any signs of pests or diseases, such as aphids, squash bugs, or powdery mildew. If detected, employ appropriate pest control methods, such as handpicking insects or using organic insecticides. Maintaining good airflow around the plants by providing adequate spacing and avoiding overhead watering can help minimize the risk of disease.
Step 7: Harvesting
Lebanese squash is typically harvested when the fruits are small to medium-sized, about 4 to 6 inches in length. Regular harvesting encourages continued fruit production. Use a sharp knife or pruning shears to cut the squash from the vine, leaving a short stem attached.
By following these planting guidelines, you can enjoy a bountiful harvest of Lebanese squash in your garden. Remember to observe the specific requirements of your local climate and adapt your planting schedule accordingly. With proper care, you'll soon be savoring the delectable flavor and versatility of Lebanese squash in your culinary creations.


Comments
0